1. I Can Go Underwater!
Why: Breath Control.
How: Encourage students to submerge independently and with rhythmic breathing. Begin slowly with their chin, lips, nose, eyes and and work your way up to submerging the whole head repeatedly.
2. I Can Glide on my Belly and Kick, Kick, Kick!
Why: Achieving a streamline body position will not only increase the feeling of buoyancy ad balance but it will also improve the way a student moves through the water.
How: Begin with students kicking in streamline from dock to dock and then stand back up on their own. The distance between docks should be no more than a body length at first, then as the students gain confidence you may increase the distance. If the distance is attainable for each student then it will be easier to keep the movement continuous as you may allow two student to swim at a time (in opposite directions) with little or no assistance.
3. I Can Glide on my Back and Kick, Kick, Kick!
Why: To achieve buoyancy, balance, and relaxation in the water and practice rolling to the front and standing up.
How: Encourage students to stretch their arms into a letter “T” for balance as they kick, kick, kick with support. Allow them to roll to their front and stand back up when they get to the dock, stairs or wall.
4. I Can Swim Chicken, Airplane, Soldier!
Why: To allow students to practice the stroke as a whole and maintain buoyancy on their back.
How: Encourage the students to practice the stroke in it’s entirety.
5. I Can Roll Over!
Why: Increased Breath Control, Buoyancy and Balance with Independent Movement.
How: Have the student swim to a designated spot (using a sinking mat to mark the spot). Encourage them to roll over and rest for at least 5 seconds when the get to the target. If a student is able to hold their breath while swimming the entire distance they may not want to roll over. Encourage them to blow bubbles to the target as a way to let out all of their air forcing them to have a need to roll over! A great phrase to use is bubble to the (target) then roll over to breath.
6. I Can Pop Up!
Why: To allow students to come up for air as needed.
How: Have the student swim to a designated spot (using the sinking mats to mark the spot is very helpful) and once there assist them ( if necessary) in lifting their head up for air. Encourage the students to paddle fast and come up for air as needed.
7. I Can JUMP, FLOAT and CLIMB !
Why: Student’s that fall or jump into the pool may not have enough energy to swim right back to the wall. Encouraging them to roll to their back and float will enable them to catch their breath before rolling over and swimming to safety.
How: Position yourself to the side of the student and encourage them to jump in, submerge, roll to their back to rest for at least 5 seconds. Complete the skill by allowing them to roll back to their front, swim back to safety and climb out.
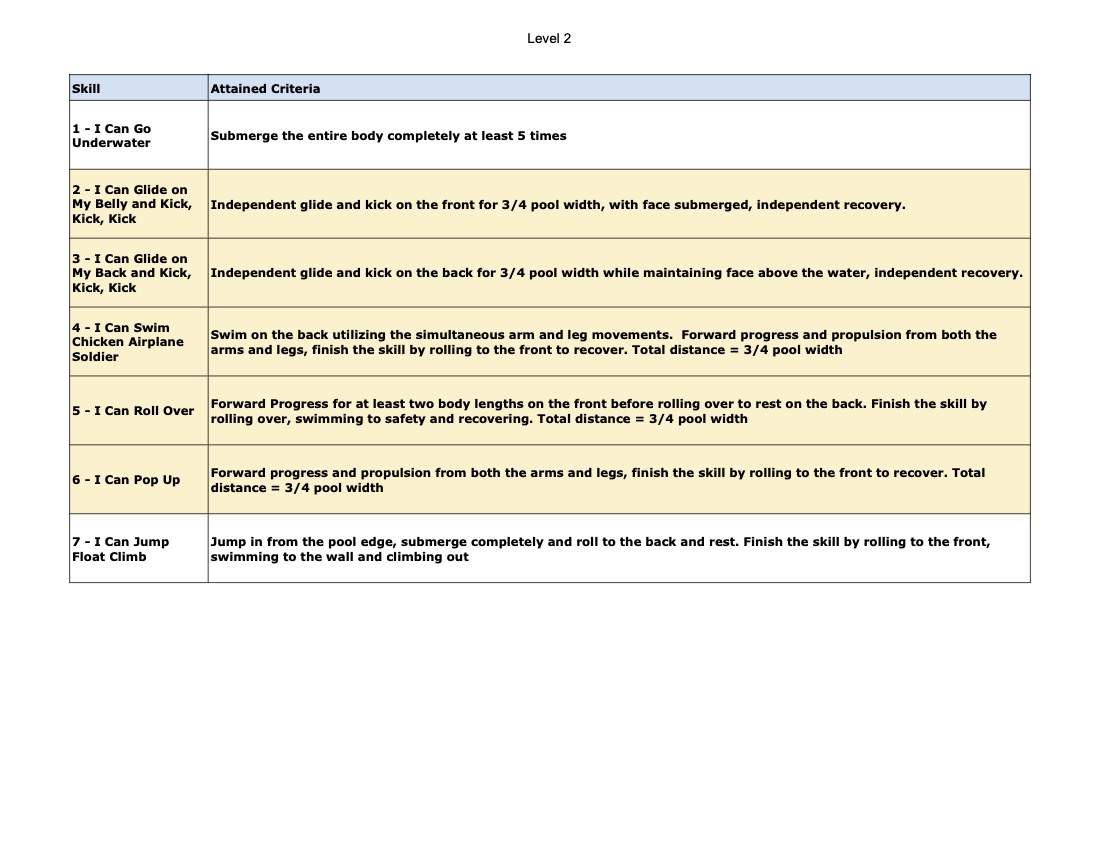
Skills Criteria
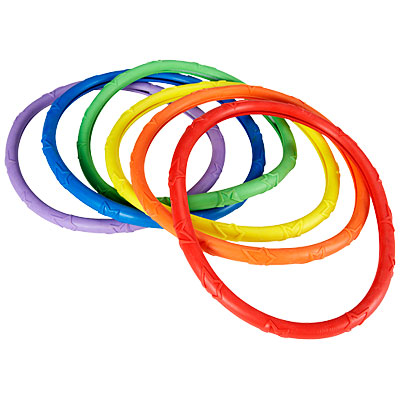
Props
- Sinking Rings
- Sinking Shark Mats
- Sinking Penguin Mats
- Sinking Frog Mats
Dock Arrangements
Two docks for continuous movement – Begin with the docks not quite half way apart and increase the distance as necessary, ultimately at least 3/4 for final testing.
